Limiting input type=”color” to a certain palette (from an image)
Wednesday, April 22nd, 2020The colour input type is pretty amazing, if you think about it. You can pick a colour from it and there are lots of great presets available. The colour picker is provided by the OS for the browser, so it differs from machine to machine. I, for example, totally missed that on a Mac, you can pick a colour from an image with it. The “spectrum” option is in fact an image and you can replace it.
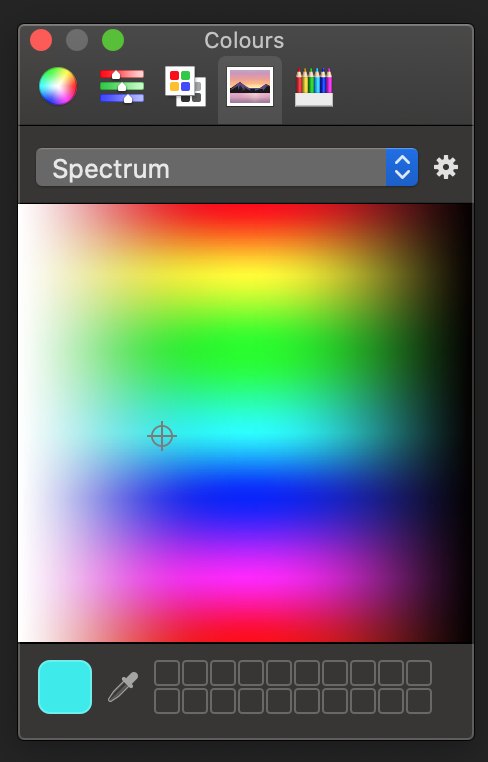
Simply drag and drop any image into it or use any of the other options available from the cog menu.
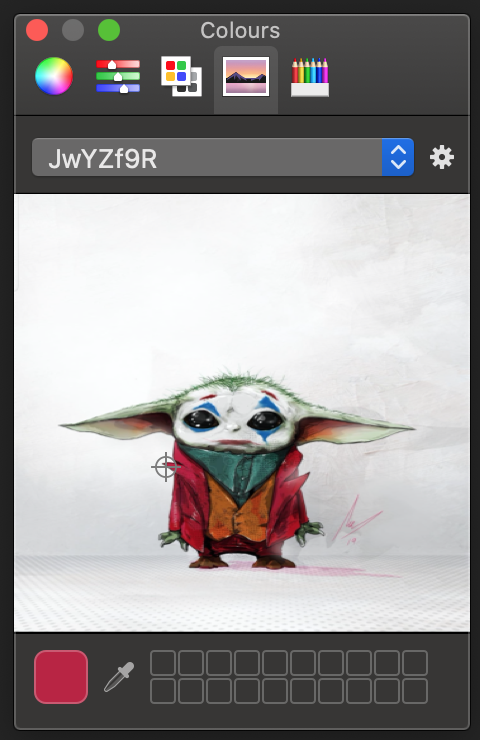
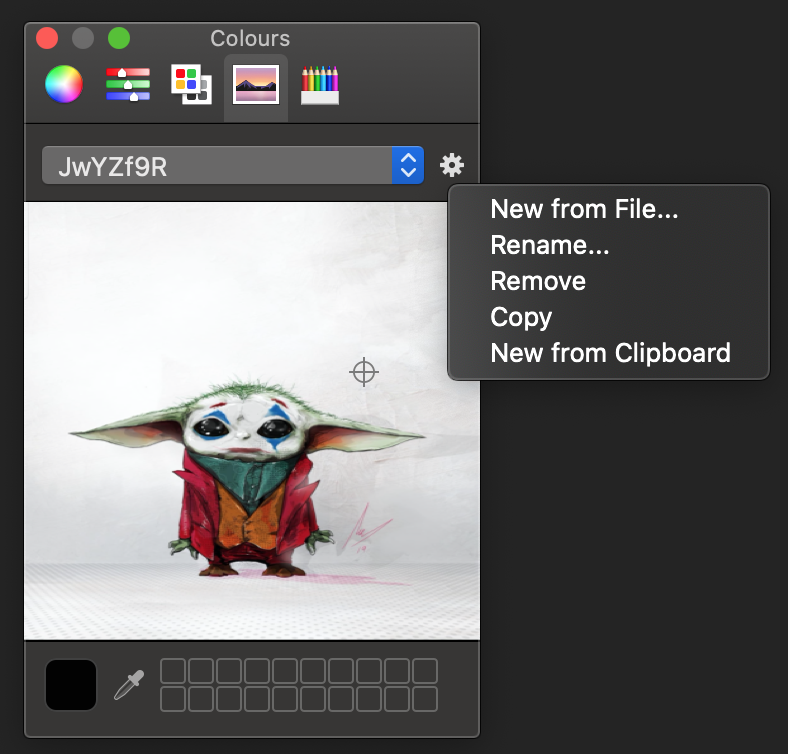
But what if you want to do limit the colours available to the colours used in an image? That’s what I needed and here begins our journey.
The input type colour supports the list attribute, which allows you to define a preset list of options. For example, the following code limits the colour picker to grey, white and blue.
<input type="color" list="presets"></label> <datalist id="presets"> <option value="#cccccc">Grey</option> <option value="#ffffff">White</option> <option value="#6699cc">Blue</option> </datalist> |
The colours need to be defined as hexadecimal colours. They can be defined as values or text inside the option tags, but the values take precedence.
On Chromium browsers like Edge and Chrome this renders as a group of colour swatches and a “more” button to turn on all the features of the colour picker.
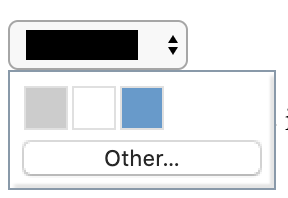
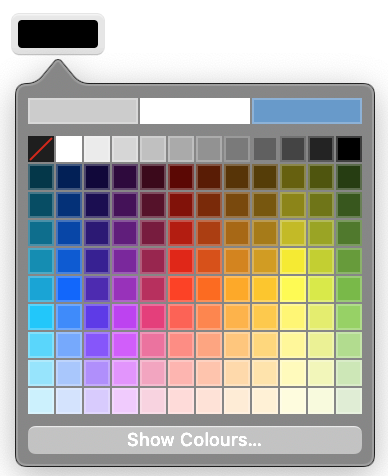
On Safari, it looks a bit different.
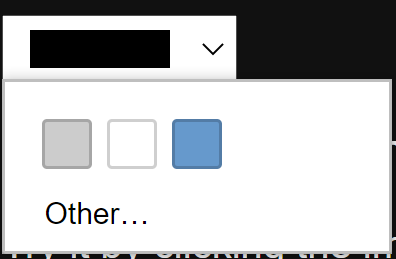
On Windows, it looks a bit different, but has the same functionality. In the current Edge it looks like this:
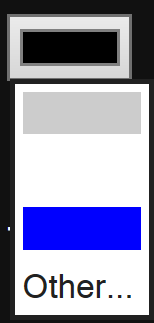
And on older Edge versions like this:
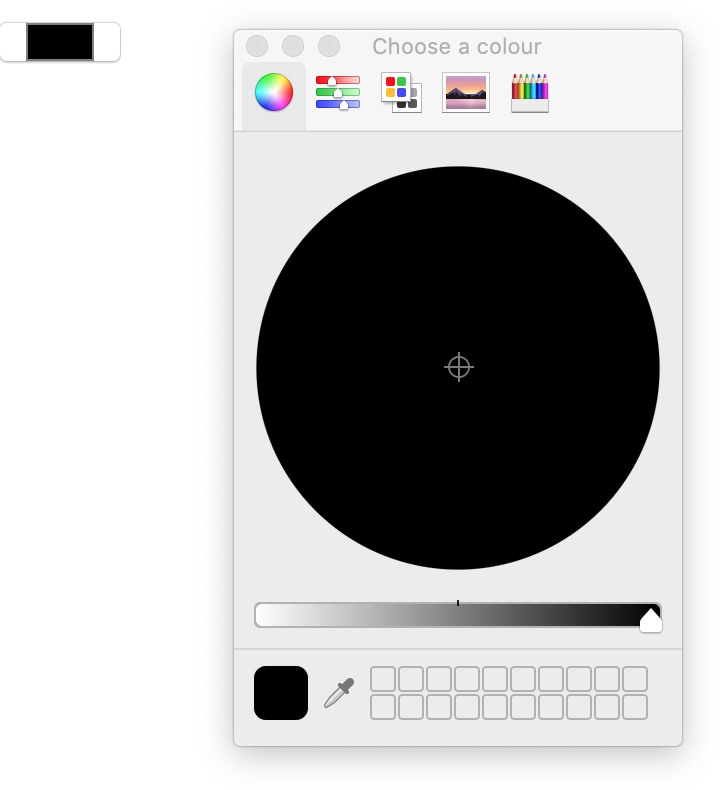
In Firefox, it doesn’t limit the colour picker, sadly enough, and there is a six year old bug reported on it.
So, how can we get all the colours from an image and make it the palette of the colour picker? We use HTML5 canvas and populate the list dynamically.
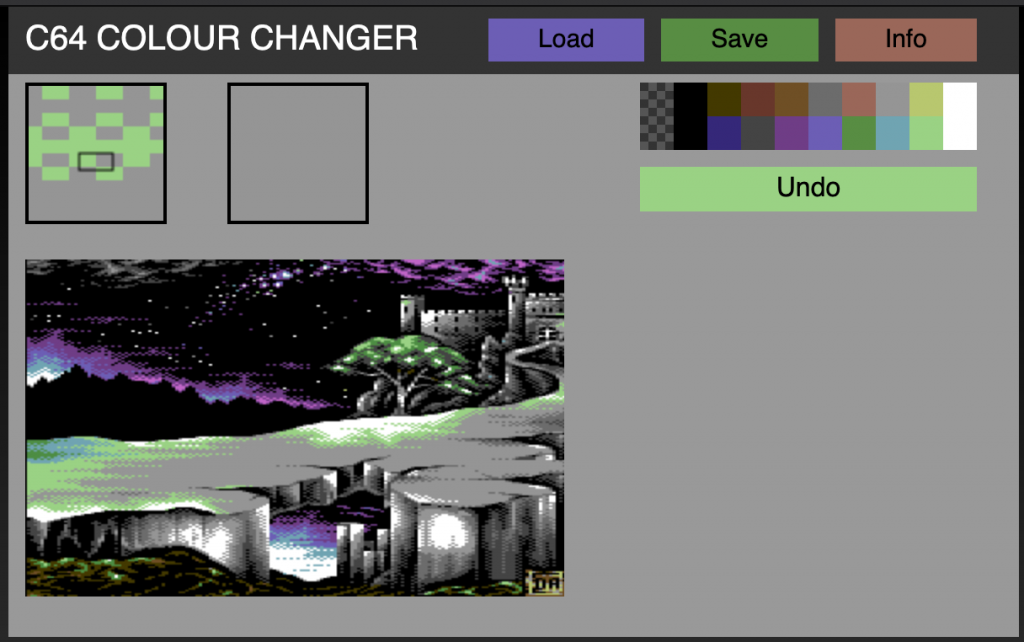
You can see all of this working in this demo on GitHub. The code is heavily documented, but let’s go through the steps now.
First, we need to get the image. This could be done by loading it with a file picker, drag and drop or paste. I just wrote about that here, and re-used the code for this.
Once we have the image we create a new Image object and send it to our analysis method when it is loaded:
const loadImage = (file) => { var img = new Image(); img.src = file; img.onload = function() { analyseColours(img); } } |
As the image could be big and have a lot of colours, it is prudent not to analyse the colours on the main thread but use a Worker instead.
let worker = new Worker('imagecolouranalyser.js'); worker.addEventListener('message', (e) => { addToColourPicker(e.data); }, false); worker.addEventListener('error', (e) => { console.log('worker error', e); }, false); |
The analyseColours method creates a new canvas element, resizes it to the dimensions of the image (so we get all the pixels) and draws the image onto it. We then get the image data of the canvas and send it to the worker file.
const analyseColours = (img) => { let c = document.createElement('canvas'); let cx = c.getContext('2d'); let w = img.naturalWidth; let h = img.naturalHeight; c.width = w; c.height = h; cx.drawImage(img, 0,0); let pixels = cx.getImageData(0, 0, w, h).data; worker.postMessage(pixels); } |
Inside the worker we listen to an incoming message and analyse the pixels by looping through the data array:
const process = (e) => { var data = e.data; let all = data.length; let coloursused = new Set(); for (i = 0; i < all; i += 4) { let hex = ''+ rgbToHex(data[i]) + rgbToHex(data[i+1]) + rgbToHex(data[i+2]); coloursused.add(hex); } postMessage(coloursused); } const rgbToHex = (col) => { return parseInt(col,10).toString(16); } addEventListener('message', process, false); |
We create a new Set to hold the values of the unique colours we find. A Set is perfect there as it automatically removes duplicates added to it. Another option would have been to use an Object and the colours as keys.
The image data of a canvas is an array of all the pixel colour values as their RGBa values. Thus we need to loop through it in steps of 4. We assemble a string by converting the Red, Green and Blue values into hexadecimals. Once the loop is done we send the Set back to the main thread and thus to the addColourPicker() method, which is the Worker listener defined earlier.
const addToColourPicker = (colours) => { let out = ''; colours.forEach(c => { out += `<option value="#${c}"></option>` }); datalist.innerHTML = out; colourpicker.click(); } |
We create a new string called out, loop over all the colour values and add an option element for each. We set the innerHTML of the datalist to this string and fire a click event on the colour picker. This last thing is mostly for the demo, it isn’t needed for the functionality. Weirdly enough Safari doesn’t do anything with that.
So that’s it, limiting a colour picker to a certain palette can pretty much save you from having to write a complex UI yourself, and I bet the colour picker will be more accessible than anything we create ourselves.
