The other day I had a friend come to my place with the request to “learn HTML and how web sites work”. We spent a few hours playing with the topic and she got excited and quite far into it. The whole thing reminded me about a real problem when it comes to teaching people HTML. We keep fast-tracking the learning to the fun part of building visual things with it.
People who started early with the web had platforms that allowed them to quickly publish things. Geocities, Neopets and many others. For many these were the only accessible ways to get on the web and learn about it. These platforms allowed you to write your first HTML and CSS. Without a doubt using platforms that allowed for inline CSS and HTML to style things was an awesome experience. It is fun to game a system and impress your peers with visual tricks they didn’t think possible. It is also fascinating to go on a trial and error journey to get to a goal.
None of that taught us HTML and CSS though. Both are much more than their syntax. It taught us not to understand how the web works, but take any shortcut necessary to get to a certain look and feel. We can’t only blame these platforms for that. WYSIWYG editors and woefully outdated education materials in schools and universities also taught us that HTML and CSS are there to paint in the browser and make something look a certain way.
It also taught us to rely on browsers to do the job to convert our efforts into something that kind of works.This is why browsers are such complex beasts and why browser interoperability is such a hard task. We’ve accumulated years of shortcuts and hacks and old web products rely on them. Browsers can’t break the web. They need to support the bleeding edge but also the sins of the past.
Coming to HTML from a “do this and it will look like that” taught us to do things that should only be a last resort option. Specifically, this way of “learning” HTML taught us to:
- Paint with HTML, mixing structure and display (font elements, b, i, em, blockquote to indent, layout tables)
- Inline styles or style blocks in the body of the document
- Make the least effort to get to a visual result.
Sometimes these make sense to still use. HTML emails come to mind. But the limitation of an environment shouldn’t dictate what we use. Inline styles are at best a maintainability issue and at worst a security attack vector (f.e. IE filters).
The least effort thing is one that sticks the most. Want proof? How many images do you encounter without any proper alternative text? As alternative text isn’t displayed, it feels like extra effort to a lot of people. Title attributes, on the other hand, get quite some usage as they do show as a tooltip. I even remember people using ASCII art in titles.
In essence, we learned to write HTML and CSS to style a single element, which is exactly opposite to what CSS is good at.
These examples are from a long time ago, but things haven’t changed much. These days we are bombarded with “CSS only solution” and “one DIV paintings”, all mixing structure and presentation. They are impressive, and I love the creativity they represent and the efforts people get into. But as a first example for a learner of the web, they are as distracting as they are ill-advised.
HTML isn’t about look and feel. It is about structure. It means giving text content structure and link the web. We should use HTML elements not because how they look. We should use them for what they represent. And what functionality they should trigger in a browser.
- Headings allow assistive technology to provide a faster way to navigate the document
- Paragraphs chunk up text into easier digestible parts
- Lists group similar things together
- Buttons allow you to trigger script functionality independent of input device
- Form fields and labels allow to user to enter information and know what they should enter even if they can’t see
- Links point to other resources and should send the user there when activated
- Video and audio elements give us an accessible player interface
And so on. This, together with an HTML document to host the structure makes up a web page. It allows browsers to show it as a web page. It allows assistive technology to convert it to sound or information on a Braille keyboard.
The problem is, that this isn’t exciting for most people. When I started to explain HTML, I used this document:
<!DOCTYPE html>
<!--
 ^ This tells a browser or any other software that this is an HTML
 document and that it should understand it as such and do things
 with the content. For example, provide an interactive button
 when it gets a <button> element.
-->
<html lang="en">
<!--
 ^ You need to define the language to help people listening to your
 web site to get the proper voice to pronounce it. This also helps
 search engines to index your content.
-->
<head>
<!--
 ^ Everything in the <head> is extra information for the document
   or links to other resources it needs (like a stylesheet or an
   icon). Nothing in here shows up in the web site as content
-->
 <meta charset="UTF-8">
<!--
 ^ It is important to define the charset you use to make sure that
 special characters you might use, like "ü" display the right way
-->
 <meta name="viewport" content="width=device-width, initial-scale=1.0">
<!--
 ^ This meta definition makes sure that your web site scales on
 mobile devices and doesn't need the user to zoom in first
-->
 <title>My web site</title>
<!--
 ^ This is the title of the document. It shows up in the title bar
 of the browser, when you bookmark or share it and it will be
 the thing a search engine displays about your document.
-->
</head>
<body>
<!--
 ^ This is where the content of the document goes
-->
</body>
</html> |
<!DOCTYPE html>
<!--
^ This tells a browser or any other software that this is an HTML
document and that it should understand it as such and do things
with the content. For example, provide an interactive button
when it gets a <button> element.
-->
<html lang="en">
<!--
^ You need to define the language to help people listening to your
web site to get the proper voice to pronounce it. This also helps
search engines to index your content.
-->
<head>
<!--
^ Everything in the <head> is extra information for the document
or links to other resources it needs (like a stylesheet or an
icon). Nothing in here shows up in the web site as content
-->
<meta charset="UTF-8">
<!--
^ It is important to define the charset you use to make sure that
special characters you might use, like "ü" display the right way
-->
<meta name="viewport" content="width=device-width, initial-scale=1.0">
<!--
^ This meta definition makes sure that your web site scales on
mobile devices and doesn't need the user to zoom in first
-->
<title>My web site</title>
<!--
^ This is the title of the document. It shows up in the title bar
of the browser, when you bookmark or share it and it will be
the thing a search engine displays about your document.
-->
</head>
<body>
<!--
^ This is where the content of the document goes
-->
</body>
</html>
The comments are what I told my friend how and why these things need to be in there. I am pretty sure that none of us learned HTML that way. And that’s a shame. As, for example, the amount of web sites I encounter each day without a scaling meta tag is staggering. And that makes them annoying on a phone. Often these are signup pages for Wireless, which exacerbates the problem.
It was tough going starting this way to talk about HTML. The assumption was that you could learn some HTML elements and then go into styling things. The information what an HTML document needs to even allow the browser do its thing isn’t exciting.
But it is important. Not teaching HTML by explaining what it means and does results in people re-inventing it.
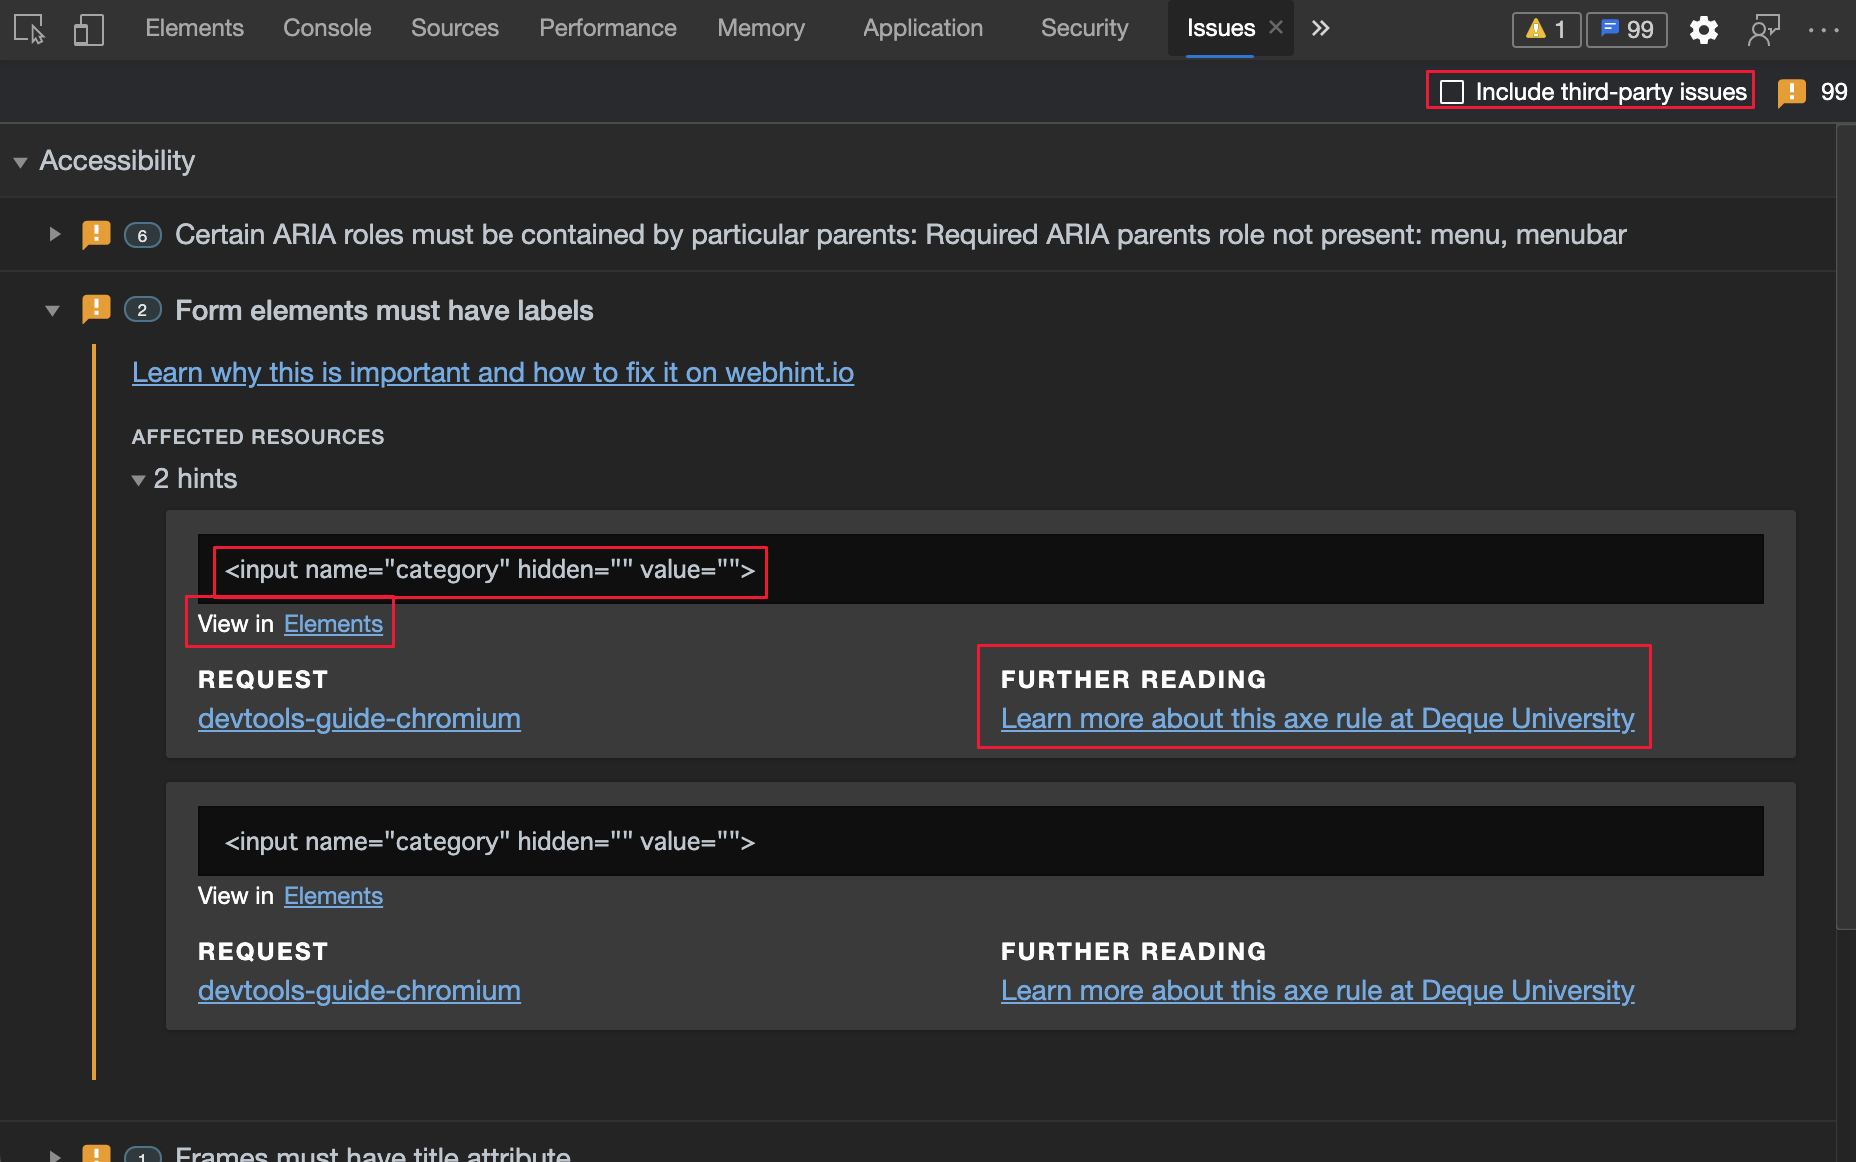
We’ve all seen DIV/SPAN constructs that are, in essence, an anchor. And they fail to be keyboard accessible. Then people add some ARIA and a tabindex to make them accessible. Well, not really. It is more important to not flag an automated accessibility test fail than making it accessible. We keep getting back into the “add whatever is needed to get to the result quickly” mode. The mode we learned when we got introduced to HTML/CSS as a technology stack to paint on the web.
In the best of worlds, we could get people excited with a visual first approach and get them to learn more later on. But that is a huge assumption. I’ve seen the shortcut mentality and reliance on browsers to be forgiving as the new normal. And every time we question it, there is an argument that we should get people excited first and rely on them to understand later. The state of the web right now makes me question the understanding part though.
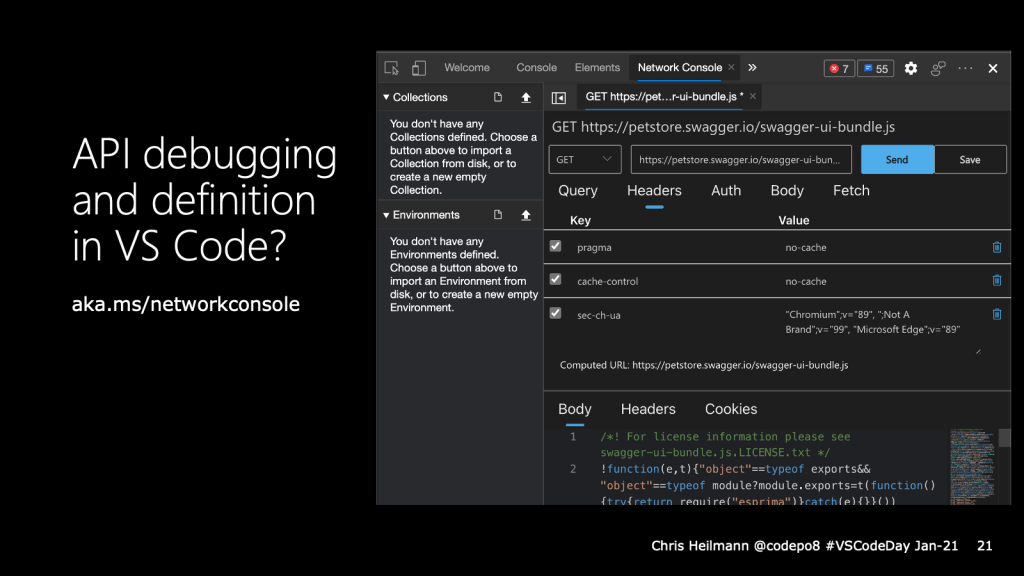
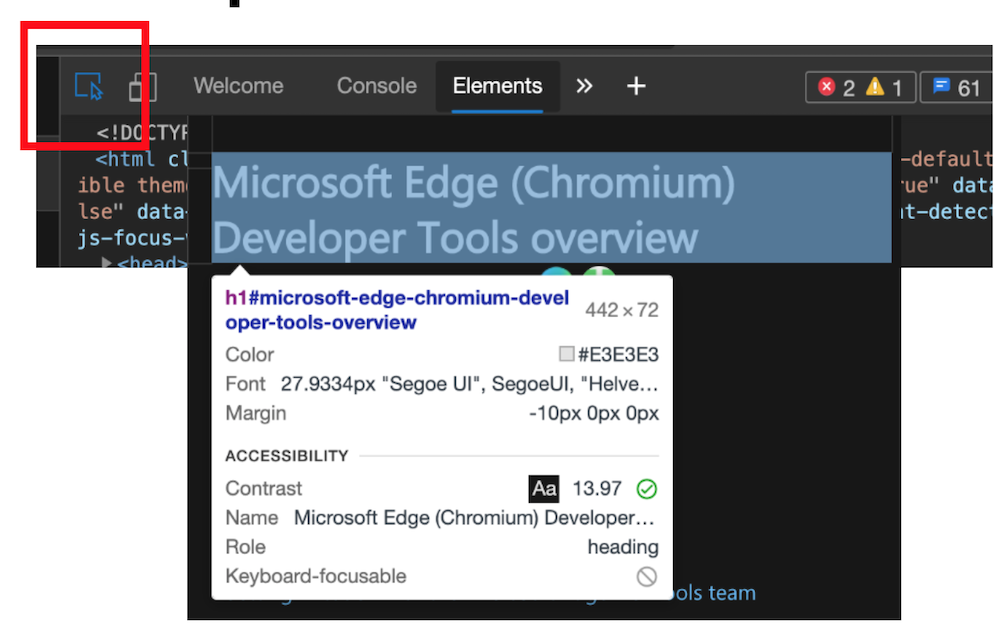
I don’t want to take the fun out of learning the web. I want people to reach a result quickly. Tools help there. I got my friend to use Visual Studio Code with the Webhint extension and CodePen. That way my friend createded something fast and learned about CSS and HTML at the same time. Code autocompletion, linting and live insights are a powerful combination. And maybe that is a good way to get started.
More to come.