Update to the Developer Evangelism/Advocacy handbook almost complete
Tuesday, December 15th, 2020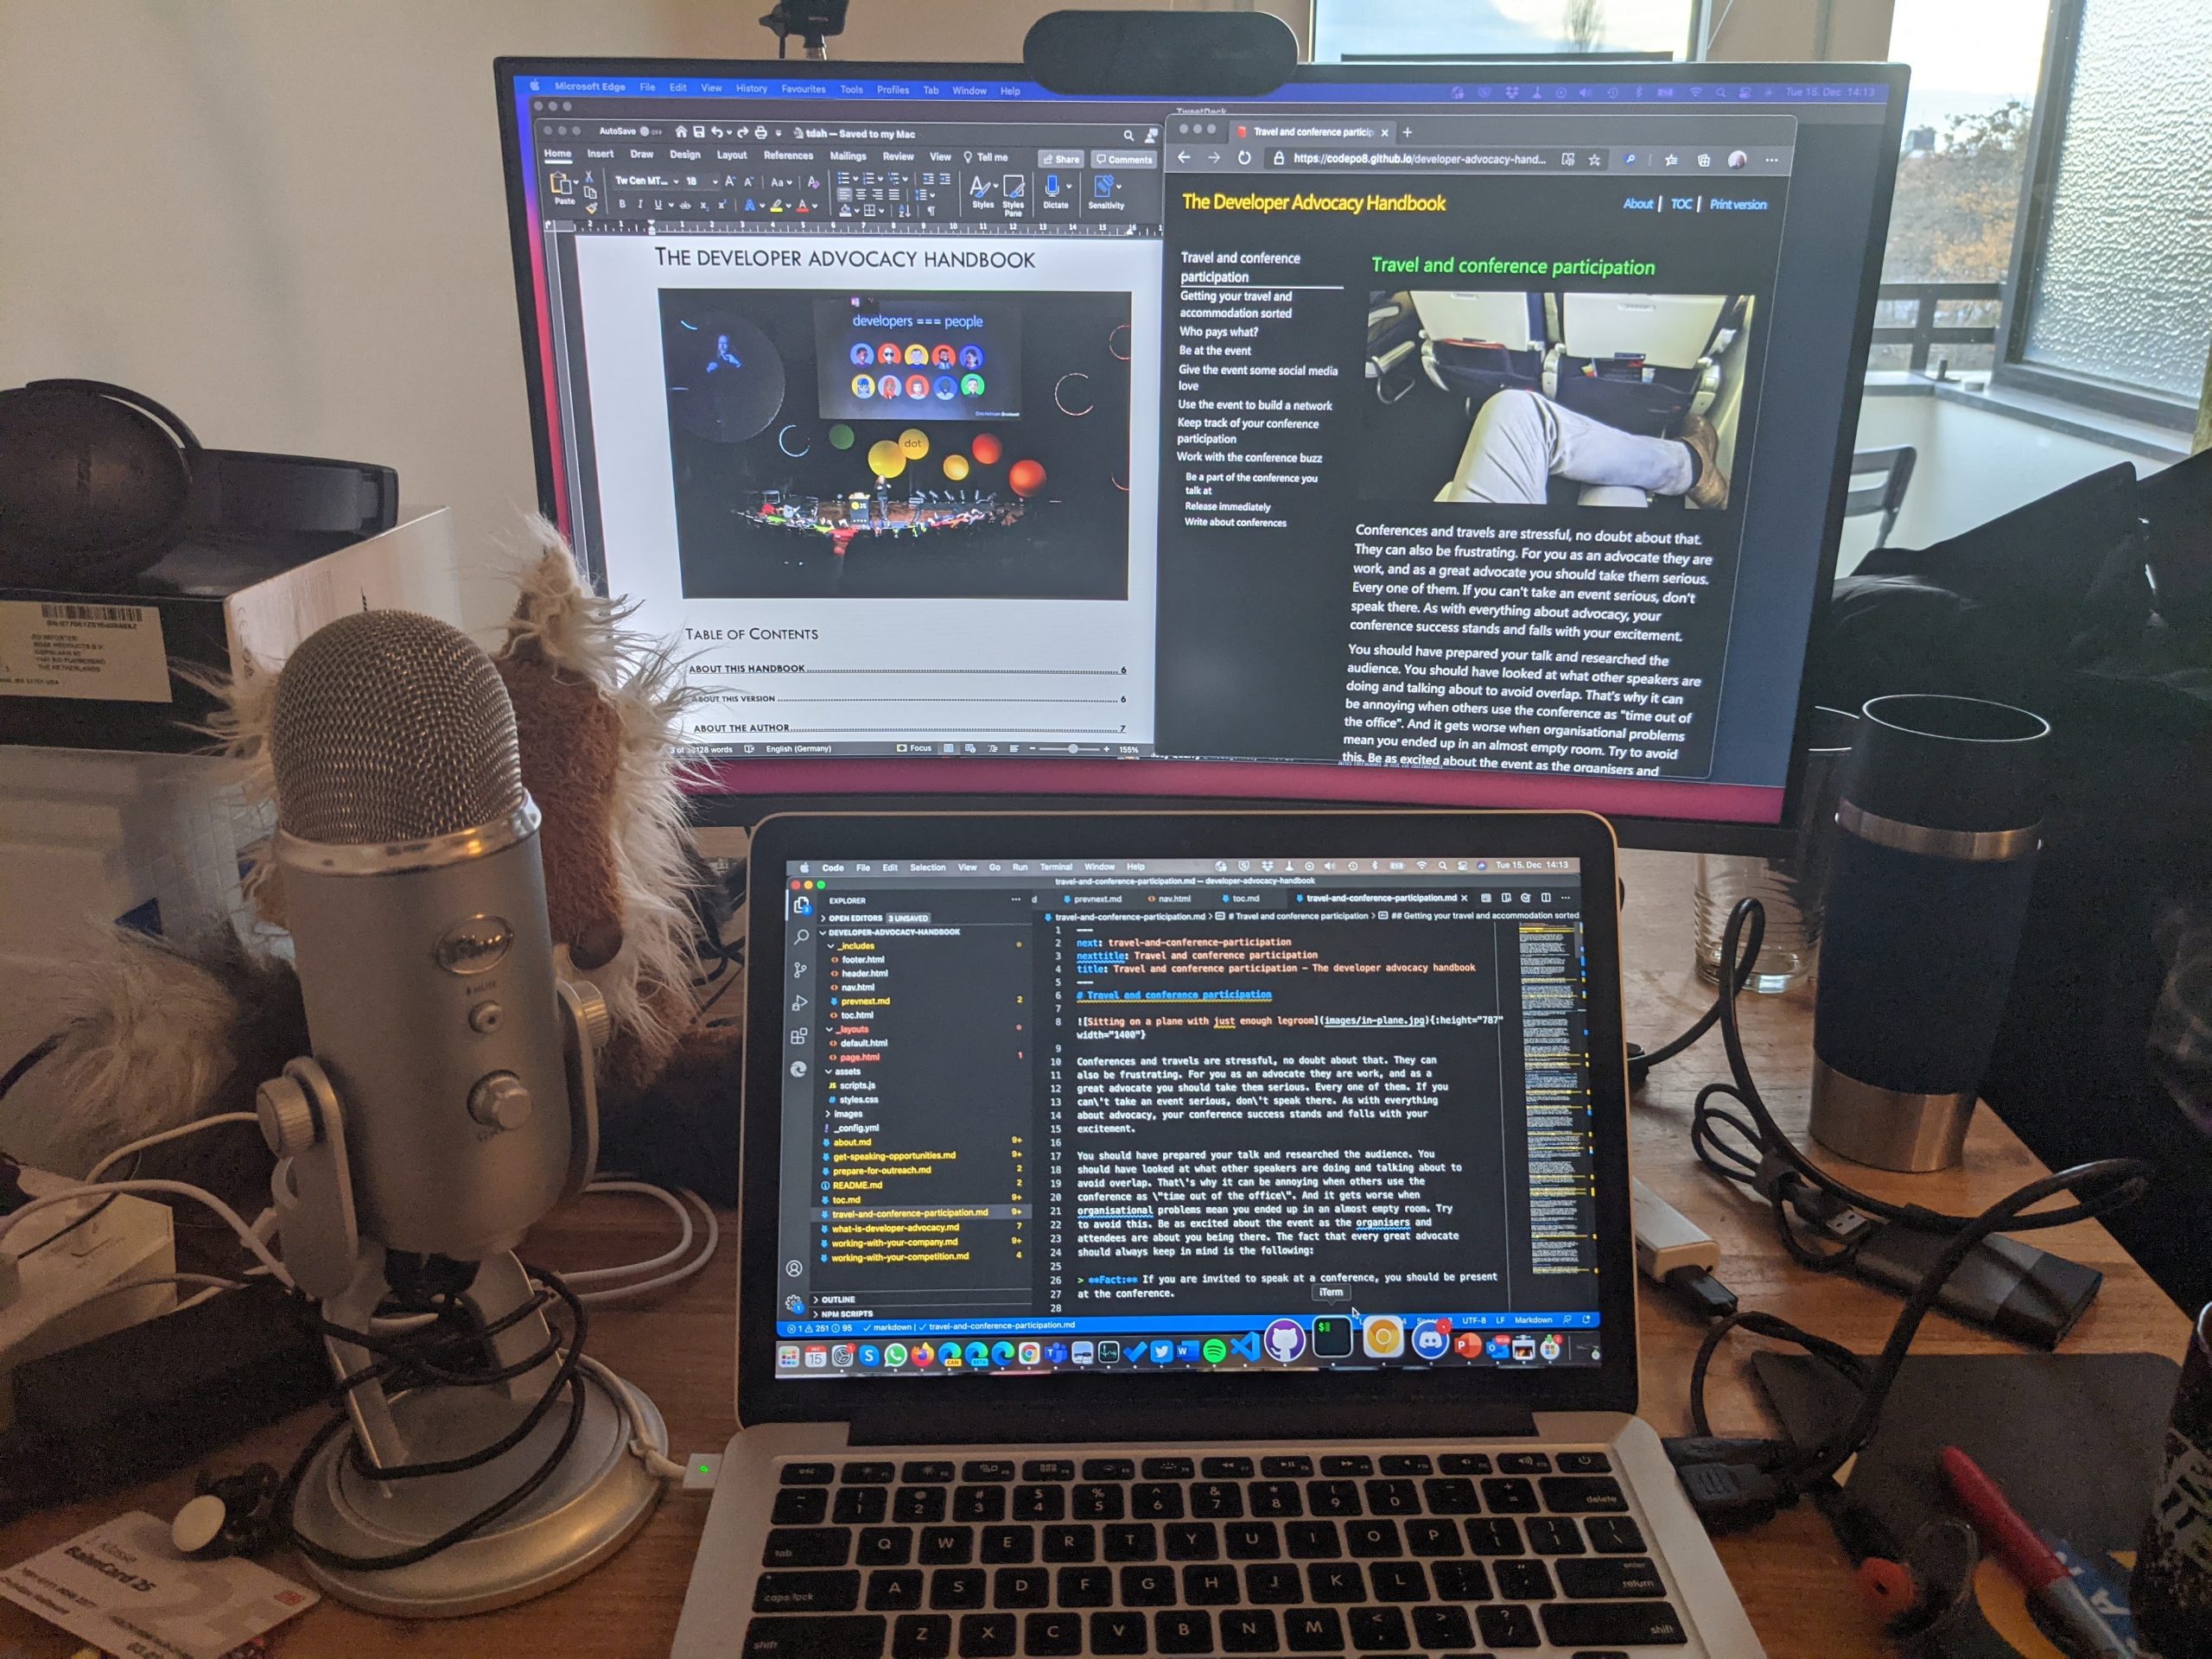
Eleven years ago I wrote the Developer Evangelism Handbook .Last month I was approached by a publisher who is interested to print it in another language. Whilst flattered, I also couldn’t let that happen as there are parts of the book that are quaintly outdated now. Some of the products I promote aren’t available any longer and there are big differences in the way we use social media and the web now compared to 2009.
So I spent a few evenings polishing the book, removing a lot of outdated material and adding new things that are more relevant now.
I added materials about virtual conference participation, code hosting, recording your own videos and screencasts, and incorporated some of the posts and materials I created since first publication. Currently it is at roughly 40000 words and the letter sized Word Doc would me 85 pages.
For now, I will publish the book online again, chapter by chapter and also consider creating some ebooks for those who prefer using readers. There’s a dark and light theme and it will work across all resolutions and platforms. I’m using jekyll/eleventy with GitHub pages and learn a few new things on the way.
Here’s the new table of contents:
- About this handbook
- About this version
- About the author
- What is Developer Advocacy / Evangelism?
- Defining Developer Advocacy
- Start with the right mindset
- Find your role and play to your strengths
- Work with your own company
- Prepare for prejudice
- Deal with company changes
- Be there for internal developers
- Work with PR and marketing
- Be known as an outward channel
- Train other advocates and developers
- Share useful technology
- Balance your personal and official channels
- Remove the brand
- Working with your competition
- Work with the competition
- Show respect to the competition
- Acknowledge when the competition is better
- Know about the competition
- Build examples using and try out competitive products
- Prepare for outreach
- Get your facts right
- Know the audience and their needs
- Have expert backup
- Choose the right medium
- Plan for failure
- Get speaking opportunities
- Take part in podcasts
- Take part in panels
- Go to Grass Roots events
- Go to Meetups
- Write articles
- Offer Brownbags
- Ask questions at conferences
- Be a presenter people want to invite – publish your presenter terms
- Travel and conference participation
- Getting your travel and accommodation sorted
- Who pays what?
- Be at the event
- Give the event some social media love
- Use the event to build a network
- Keep track of your conference participation
- Work with the conference buzz
- Be a part of the conference you talk at
- Release immediately
- Write about conferences
- Deliver a talk or workshop
- Be yourself
- Invite communication
- Prepare takeaways
- Plan time for and own the questions and answers
- Be honest and real
- Follow up communication
- Delivering presentations tips: timekeeping and more
- How will I fit all of this in X minutes?
- Less is more
- Your talk is only extremely important to you
- Map out more information
- Live coding?
- Avoid questions
- Things to cut
- Talk fillers
- Planning Your Talk Summary
- Things not to say on stage – and what to do instead
- “This is easy…”
- “I’ll repeat quickly, for the few of you who don’t know…”
- “Everybody can do that…”
- “X solves this problem, so you don’t have to worry about it”
- “As everybody knows…”
- “This is just like we learned in school…”
- “That’s why Y(your product) is much better than (competitor) X”
- “This can be done in a few lines of code…”
- “If you want to be professional, do X”
- A quick check
- Write great posts and articles
- Simple is not stupid
- Say what it is – don’t sugar-coat it
- Size matters
- Add media
- Structure your content
- Time-stamp your content
- Cite to prove
- Pre-emptive writing
- Ending on an invitation to learn more
- Write excellent code examples
- Solve a problem with your example
- Show a working example
- Explain the necessary environment
- Write working copy and paste code
- Have the example as a download
- Write clean and clever examples
- Build code generators
- Hosting code and demos
- Version Control is your friend
- Automated Hosting
- Code showcases
- Code Sandboxes
- Live coding environments
- Prepare great slide decks for presentations
- Know your stuff
- Start with the content – not the slides!
- Start with a highly portable Format – Text
- Quick Presentation creation tip: unpacking bullets
- Pick a presentation tool that helps you present
- Illustrate, don’t transcribe
- Use and find images
- About code examples
- Sound and videos
- Don’t bling it up
- Keep it brief
- Consider the audience
- Corporate and conference templates
- Don’t reuse without personalising
- Share and enjoy
- Additional presentation tips
- Introduce yourself
- Use humour
- Build bridges to the real world
- Pace yourself
- Avoid “Hello World”
- Be fresh
- A checklist for more inclusive, accessible and understandable talks
- Talk materials
- Format
- Content
- Tracking
- Insurances
- Bonus round
- Keep a record of your work
- Record the audio of your talks
- Shoot video
- Link collections
- keep a conference participation list
- Know and use the (social) web
- Find great web content
- Redistribute web content
- Be known on the web
- Use powerful social web sites and products
- Use the web for storage, distribution and cross-promotion
- Hint, tease and preview
- Track your impact
- Build a network
- Create or take part in a newsletter
- Create or take part in a podcast
- Working from your own computer
- Get a decent setup
- Screencasts and screenshots
- Streaming
- Taking part in live online chats
- Attending live online events
- Technical issues to prepare for
- Design limitations to prepare for
- Personal issues to prepare for
- Recording your own talks
- Check your setup and your surroundings
- Record the different pieces of the talk separately
- Remember that you need to share the screen with your slides
- Use accessibility features to add extra video value
- Record in the highest possible quality
- Keep originals and make it easy to get your video
- Final words

Until then, I hope you have a great time and take some time off!