Writing a dog picture browser in ~200 lines of code
Thursday, October 29th, 2020Dogs are excellent, and great people. When I came across the Dog.ceo API of free dog images sorted by breed the other day, I had to do something with it. So I did. I give you the dog browser:
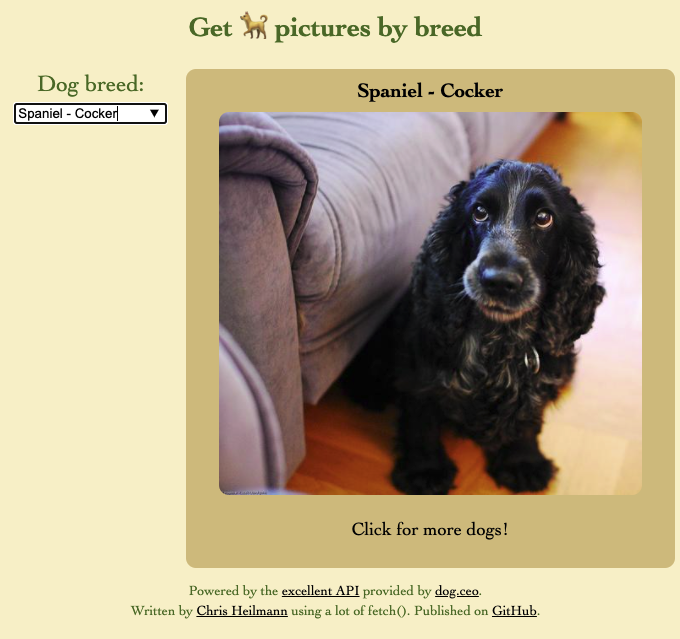
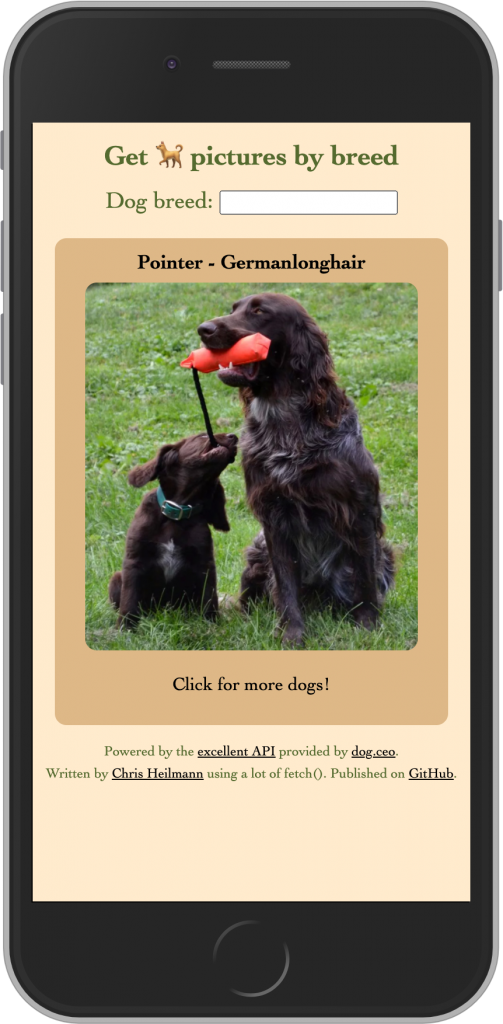
You use it by clicking the image to get a random dog picture or typing into the box to select the breed and filter the results.
You can check the source on GitHub and play with it yourself.
Here’s how I went on about it…
Getting the data
Looking through the API documentation I found three endpoints I needed to play with:
- https://dog.ceo/api/breeds/image/random – gets a random dog image (good as a start)
- https://dog.ceo/api/breed/${breed}/${sub}/images/random – gets a random picture of a certain breed, f.e. https://dog.ceo/api/breed/spaniel/cocker/images/random gets a Cocker Spaniel
- https://dog.ceo/api/breeds/list/all gets a list of all breeds
The data is in JSON and pretty straight forward, it is an object with a status and a message property. For image lookups the message is the URL to the image. For the “all breeds” lookup an object with all the names as keys and an array of possible sub-breeds. One annoyance is that the breeds are in lowercase.
Planning the HTML
I wanted a way to display the image of the dog, its breed and allow the user to filter by breed.
Buttons are great, because they are keyboard and mouse accessible. They also can contain any other HTML element. For the display of the image I chose the following:
<button class="loading"> <h2></h2> <img src="" alt="Good boy/girl"> <p>Click for more dogs!</p> </button> |
This makes the hit area for people to choose the next image as big as I want it to be.
For choosing the breed, I had the problem that the list of breeds is huge and there may be sub-breeds. At first, I thought of a select box that shows a second one when there is a sub-breed available. That is both cumbersome to use and annoying to develop. So I chose an input element connected to a datalist. This is HTML5’s autocomplete.
<form> <label for="breed">Dog breed:</label> <input list="allbreeds" id="breed"></input> <datalist id="allbreeds"></datalist> </form> |
Styling the interface (treats.css)
You can take a look at the source of the CSS for all its glory (or lack thereof), but I used a few tricks that may be of interest.
button { max-width: 90vw; min-height: 50vh; width: 100%; cursor: pointer; position: relative; /* … More … */ } |
I give the button a minimal height of half the screen and limit it to 90 % of the window. I give it a cursor of pointer to tell people to click. And I position it relative to allow for some clever loading message styling later on.
button img { border-radius: 10px; margin: 0 auto; object-fit: contain; max-height: 60vh; min-height: 200px; max-width: 90%; } |
I give the img a max and min height and a max width that gives it some breathing space. The object-fit: contain ensures that the image doesn’t get stretched.
button.loading img { opacity: 0; } |
During loading I hide the image just as a nice to have. Talking about loading, here’s a neat little way to create a “loading” overlay.
button.loading:after { border-radius: 10px; display: flex; flex-direction: column; justify-content: center; content: 'Loading...'; background: rgba(0,0,0,.8); color: white; position: absolute; top: 0; left: 0; right: 0; bottom: 0; } |
As the button has a position of relative, we can create the overlay using CSS generated content. We position it absolutely and set top, left, right and bottom to 0. This covers the whole button and makes sure users can’t click it again while the image loads. The flex settings ensure that the “Loading…” message is bang in the centre.
button.error:before { content: '⚠️ Oh no! No dogs found, try another breed!'; color: firebrick; display: block; margin: 5px; border: 2px solid darkred; } |
I also use CSS generated content for an error state.
One last thing is a media query to display the form next to the button when there is enough space or above on smaller devices:
@media (min-width:600px) { section {display: flex;} } |
Making it work with JavaScript (walkies.js)
I may change this code in the future, so make sure to check the source on GitHub from time to time, but here we go.
const breed = document.querySelector('#breed'); const imagecontainer = document.querySelector('button img'); const breedinfo = document.querySelector('h2'); const button = document.querySelector('button'); const datalist = document.querySelector('#allbreeds'); let url = 'https://dog.ceo/api/breeds/image/random'; |
I store references to all the HTML elements the script will touch. I like doing that as it means I can change the HTML later on.
I define the URL to get images from as the one giving you a random dog picture.
const getbreeds = breeds => { fetch('https://dog.ceo/api/breeds/list/all') .then(response => response.json()) .then(data => { seedbreedsform(data.message); }) }; |
The getbreeds function uses the API to get all the names of available dog breeds. I use fetch() (naturally) to load the JSON, parse it and send the result to the seedbreedsform() function to seed the form with this data.
const ucfirst = str => { return str.charAt(0).toUpperCase() + str.slice(1); } |
One annoyance of datalist is that it can’t get styled. As the dog breeds are all lowercase in the API, I’m using a small function to capitalise the breed and sub breed. With dropdowns this could be done in CSS (its natural place) and hopefully we will get there one day.
const seedbreedsform = breeds => { let out = ''; Object.keys(breeds).forEach(b => { out += `<option value="${ucfirst(b)}"/>`; breeds[b].forEach(s => { out += `<option value="${ucfirst(b)} - ${ucfirst(s)}"/>`; }); }); datalist.innerHTML = out; breed.addEventListener('change', findbreed); }; |
I loop over all the keys of the breeds object the API returned and create an option in the datalist for each. The keys are the names of the breeds. If there are sub-breeds their value is an array of more breeds. I loop over these arrays and create an option with the value of “Breed – sub-breed”. Once all the options are there, I set the innerHTML of the datalist to the resulting string. This, effectively, gives the user an autocomplete of all the available breeds.
I add an event listener calling findbreed when the user selects a breed from the autocomplete.
const findbreed = _ => { let name = breed.value; name = name.replace(' - ', '/').toLowerCase(); url = `https://dog.ceo/api/breed/${name}/images/random` getdog(); }; |
As the value of the input element is the readable version of the data, I have to undo this. I replace the ” – ” with a slash, lowercase the whole string and assemble the URL to get the image from the API. I change the URL to this more specific one and call the getdog function.
button.addEventListener('click', getdog); imagecontainer.addEventListener('load', e => { button.classList.remove('loading'); }); |
The getdog function is the main function to load an image and add it to the button element. When I click the button again, I’d want another image. Thus, I need to add an event handler to the button to call it. The getdog function changes the src attribute of the image container to load an image. That’s why I need a load event handler on the image to change the state from loading to finished.
const getdog = _ => { button.classList.remove('error'); button.classList.add('loading'); fetch(url) .then(response => { if (response.ok) { return response.json(); } else { button.classList.remove('loading'); button.classList.add('error'); } }) .then((data) => { imagecontainer.src = `${data.message}`; let bits = data.message.split('/'); bits = bits[bits.length-2] .split('-') .map(b => ucfirst(b)) .join(' - '); breedinfo.innerText = bits; }) }; |
I remove any error CSS classes that may be applied to the button and add a ‘loading’ one. I then call the API using fetch.
If the response is not good I remove the ‘loading’ class and add an ‘error’ one.
If the response is ‘ok’, I set the src of the image in the button to the message that came back from the API (the URL of the image). I then need to do some conversion to display the breed of the current, random dog image.
Here’s how that works:
URLs could be a mix of one breed dogs or sub breed dogs. Those with a sub breed have a hyphen in them. For example:
https://images.dog.ceo/breeds/cockapoo/Scout.jpg
https://images.dog.ceo/breeds/spaniel-cocker/n02102318_5690.jpg
I split the url at the slashes, and get the one before the last one, in this case “cockapoo” or “spaniel-cocker”. I split this one at the hyphen and send each to ucfirst to capitalise them. I then join them again with a ” – ” and display the resulting string.
The last thing to do is to make sure that any error in the form submission doesn’t reload the page.
document.querySelector('form').addEventListener('submit', e => { e.preventDefault(); }); |
And to load the first dog image and get the list of breeds.
getdog(); getbreeds(); |
Fun with web standards
There you go. A dog browser in a few lines of CSS and JavaScript and with zero dependencies (except for the dog API, of course). I am pretty sure this can be improved a lot, but I had fun doing it and it is wonderful to see what the web comes with out-of-the box.