Christian Heilmann

You are currently browsing the Christian Heilmann blog archives for January, 2024.

Archive for January, 2024

Using details/summary and colour coding on GitHub pages

Wednesday, January 24th, 2024

As CODE100 is coming to Amsterdam, we needed an archive of all the code puzzles we had so far. As the challenges are all on GitHub, it made sense to use GitHub pages for that. So I needed to fix two issues:

  • I wanted to have colour coding of code examples much like the GitHub own templates have.
  • I wanted to have collapsible and expandable parts of the page. I did not want to write an own JavaScript solution for that.

Here is how to achieve both. You can check the CODE100 puzzle archive to see this in action.

Adding source code colour coding to GitHub pages

In your `config.yml` file define kramdown as the markdown used and rouge as the highlighter.

markdown: kramdown
highlighter: rouge

This allows you to use code fences and get colour coding. You can add your own CSS to colour it any way you like.

Adding collapsible elements using detail and summary

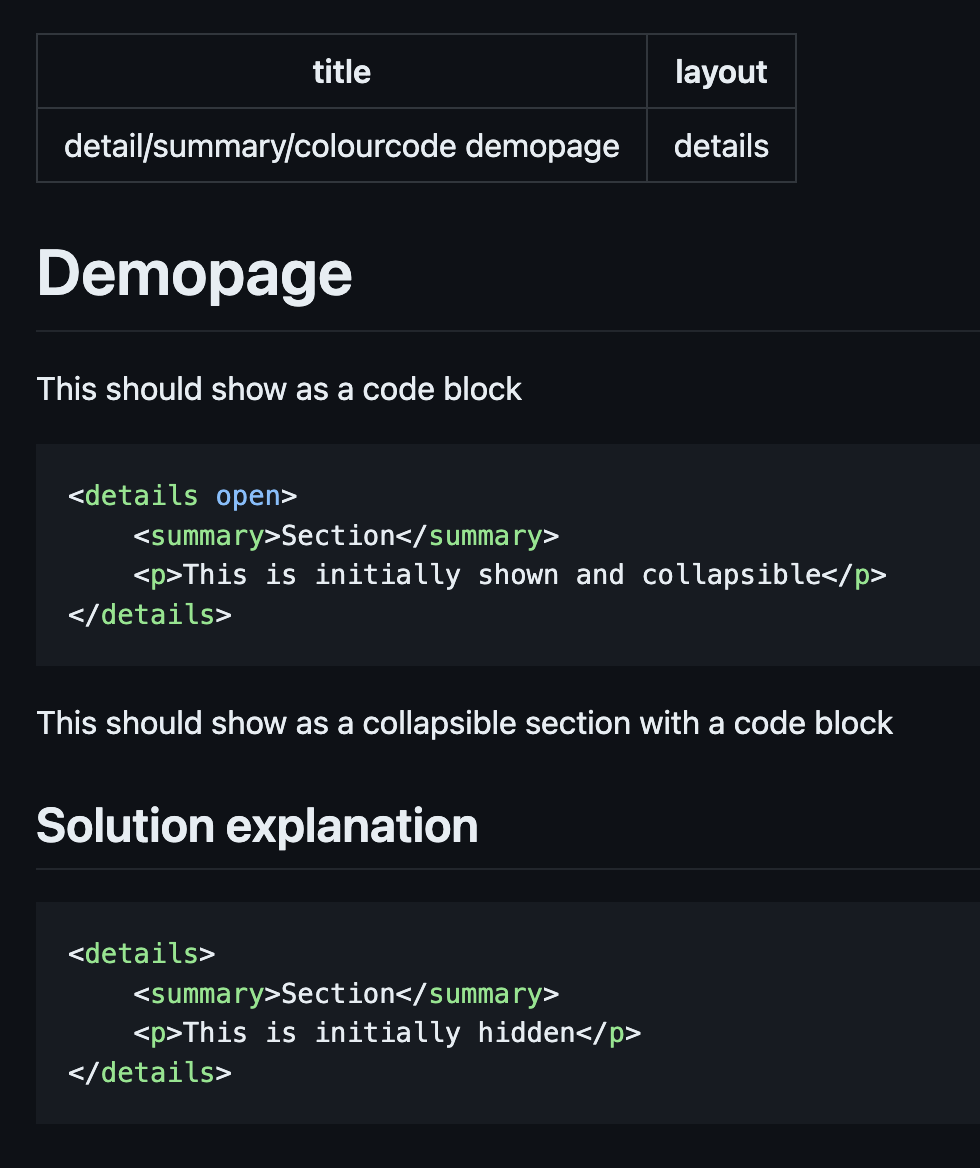
The new(ish) HTML elements detail and summary result in collapsible document sections. The great thing about these is that they don’t need any script and work independent of input. Even better is that using in-page search also automatically expands sections. At least in Chromium based browsers. The problem is that there is no way in markdown to define these sections.

GitHub allows to use summary and detail as HTML inside their flavour of markdown. If you check the notworking.md file in the source repo, you can see it working.

Collapsing and expanding in markdown on GitHub

However, if you render it as GitHub Pages the content inside the `details` stays markdown and doesn’t get rendered (even when you add newlines). You can of course use HTML (as the second demo shows), but this defeats the purpose of using markdown.

Collapsing and expanding in GitHub Pages not working

My workaround was to use HTML comments and create an include to use in my page templates.

HTML comments are great because they don’t do anything in GitHub markdown. There seems to be no standard for Markdown comments, after all.

The `detail-summary.html` include is as simple as it gets:

{% capture summary %}<!-- summary -->{% endcapture%}
{% capture details %}<!-- details -->{% endcapture%}
{% capture endsummary %}<!-- endsummary -->{% endcapture%}
{% capture enddetails %}<!-- enddetails -->{% endcapture%}
{% assign newhtml = include.html |
 replace: summary, '<summary>' |
 replace: endsummary, '</summary>' |
 replace: details, '<details>' |
 replace: enddetails, '</details>'
%}
 
{{ newhtml }}

In my page template I need to use this as a pre-render instead of simply using `{{ content }}`:

{% include detail-summary.html html=content %}

And in my markdown files I use HTML comments:

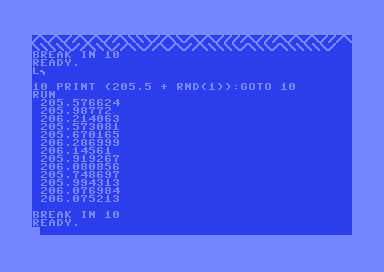
<!-- details -->
<!-- summary -->
## Solution
<!-- endsummary -->
 
``json
 
 [
   0,0,0,121,231,143,195,118,216,
   195,54,223,195,182,216,121,231,
   143,0,0,0,3,15,30,97,155,183,
   49,153,179,1,157,187,3,207,30,
   0,0,0
 ]
``
 
Did you get it? Did you find a better way?
<!-- enddetails -->

This renders as a collapsed section with `Solution` as the summary.

Demopage in the browser

The nice thing here is that it enhances progressively. In the GitHub rendered readme it is just a headline.

Github rendered markdown of the file

If you want to play with this, I created a bare-bones version here.

10 print chr$(205.5 + rnd(1));:goto 10 in JavaScript

Friday, January 19th, 2024

Forget about the Vision Pro, or whatever Samsung just brought out, we all know that the pinnacle of computing fun has been released in 1982 in the form of the Commodore 64.

One of the coolest things you could show people when writing BASIC on it was the following one-liner:

10 print chr$(205.5 + rnd(1));:goto 10

Executed, this resulted in a diagonal endless maze:

What the one liner does is print a character with the PETSCII code 205 or 206 (or SHIFT + M and SHIFT + N) which are fat diagonal lines. It does that using the PRINT command and the CHR$() command which turns a number into a character, much like fromCharCode() does in JavaScript. Luckily enough, the CHR$() command doesn’t care if it gets integers or floats. without the CHR$() it would be a list of floats:

When you ended a PRINT command with a semicolon, the computer didn’t add a new line but kept the cursor where it was.

Michel de Bree also has a version of this that is even shorter using Assembler and the D012 functionality, which stores the current scanline of the screen. He also pointed out that there is a whole book about this one liner and others that use faux random designs on the good old breadbox.

Now, let’s try something similar in JavaScript. A classic approach would be nested for loops.

let out = '';
for (let y = 0; y < 10; y++) {
    for (let x = 0; x < 40; x++) {
        out += (Math.random() > 0.5 ? '\\' : '/');
    }
    out = out + '\n';
}
console.log(out);

This works, but doesn’t look good.

Maze generated with slash and backslash

The reason is that slash and backslash have too many pixels around them. UTF-8 has box drawing characters, which allows us to use two diagonals that have less whitespace, ╲ and ╱ respectively, or 2571 and 2572 in unicode.

Using this, and moving from classic nested loops to chained array methods, we can do the following:

console.log(new Array(400).fill().map((_, i) => 
    (i % 40 === 0 ? '\n' : '') + 
    (Math.random() > 0.5 ? '\u2571' : '\u2572')
).join(''));

We create a new array of 400 items, fill it with undefined and map each item. As the item is irrelevant, we use _, but what’s important is the index, so we send this one as i. We then add a linebreak on every 40th character or an empty string. We then use Math.random() and see if it is above 0.5 and add either ╲ or ╱. We join the array to a string and log it out.

This looks better:

Maze generated with unicode characters

However, it doesn’t have the WUT factor the original one liner had. Luckily enough the two unicode characters are also following one another, so we can use fromCharCode with Math.random() to do the same. JS is not as forgiving as BASIC on Commodore64, so we need to round to the next integer and as we use unicode, fromCharCode() also needs a ‘0x’ to work:

console.log(new Array(400).fill().map((_, i) => 
    (i % 40 === 0 ? '\n' : '') + 
    String.fromCharCode('0x' + '257' + 
    Math.round(Math.random() + 1))
).join(''));

Coding is fun. Let’s do more of it without reason.

Want to do it live with a chance to get to the finals of the CODE100 coding competition? We run another edition of it in Amsterdam on the 29th of February. Apply here as a challenger!