Batch cropping of screenshots on MacOS
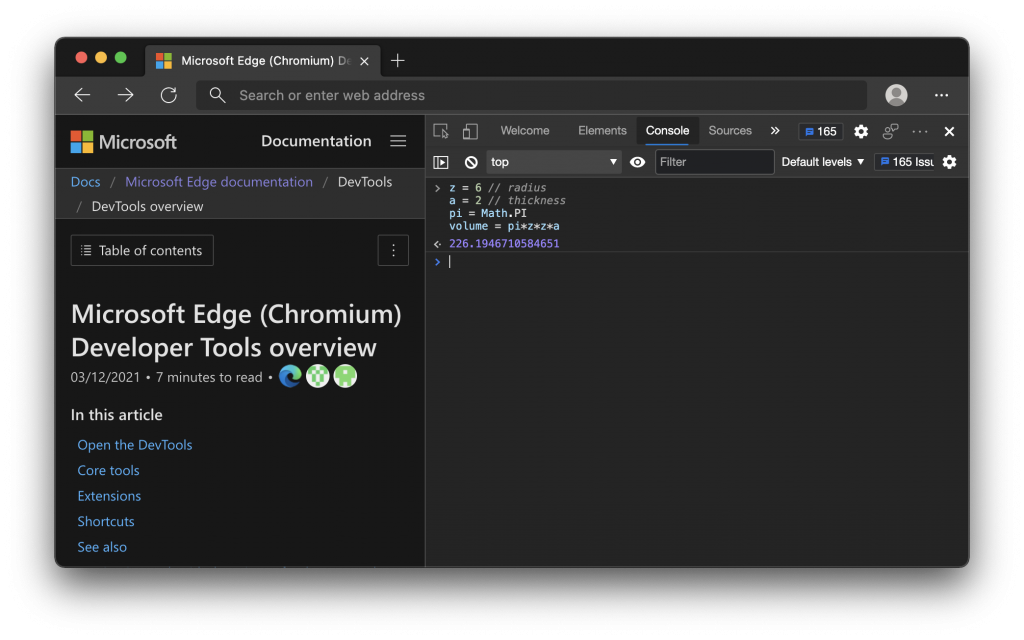
Wednesday, March 17th, 2021 at 5:56 pmI’m currently upgrading the Console documentation for Microsoft Edge and I needed to create a lot of screenshots for it. I wanted to make sure that they all are the same size, so I fixed a browser window to a certain size and instead of trying to screenshot a part of the screen, I thought it wiser to take full window screenshots. You do this by pressing CMD + Shift + 4, move your mouse on the window you want to take a screenshot of and press Space to save it to your Desktop.
MacOS by default ads a gorgeous drop shadow on any windows and puts some padding around it.
You can get rid of that on the command line or by selecting an even more complex keyboard combination.
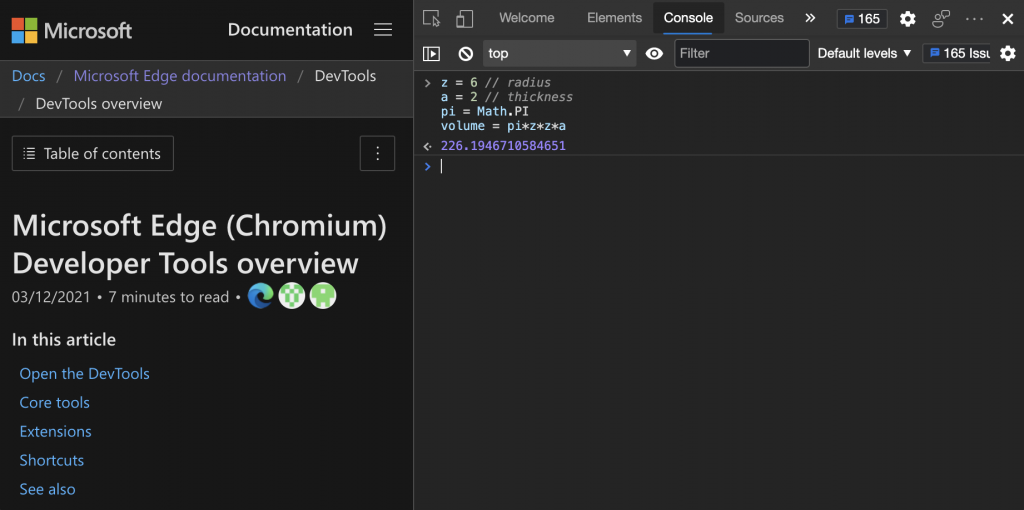
However, I also wanted to get rid of the browser Chrome. The final result should be something like this.
So I tried to find a way to crop all the screenshots I have taken in a batch process using Automator. Turns out it can crop, but only from the centre. What I needed was a way to say “crop a rectangle of sx by sy from the image starting at x and y”. The solution was the Swiss army knife of images, ImageMagick. After installing it (via Homebrew), I was able to crop part of an image and create a new one on Terminal using the following syntax (with the bits in {} being the values):
convert sourceimage.png -crop {width}x{height}+{left}+{top} resultimage.png |
I created a folder called “nochrome” on my Desktop and wrote this small shell script to batch convert all of them:
for filename in *.png; do\ convert $filename -crop 1842x918+123+234 "nochrome/$filename" echo "$filename done" done |
There are probably easier ways, but that did the trick for me.

