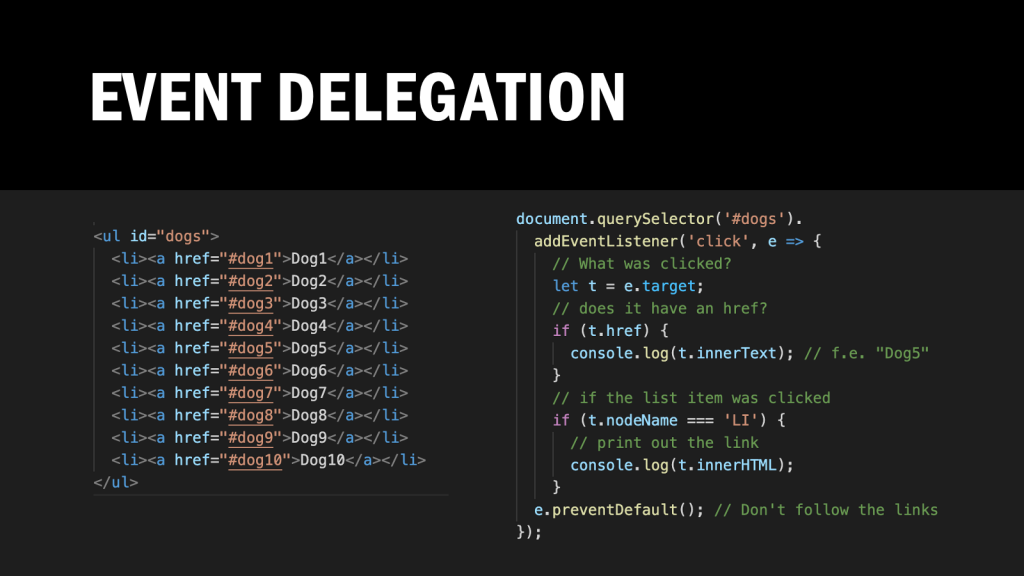
Back to Basics: Event Delegation
Sunday, November 1st, 2020 at 2:53 pmBack to basics is a series of small posts where I explain basic, dependency free web techniques I keep using in my projects. These aren’t revelations but helped me over the years to build sturdy, easy to maintain projects.
One of my favourite tricks when it comes to building web interfaces is Event Delegation
Events don’t just happen on the element you apply them to. Instead they go all the way down the DOM tree to the event and back up again. These phases of the event lifecycle are called event bubbling and event capture.
The practical upshot of this is that you don’t need to apply event handlers to every element in the document. Instead, often one handler on a parent element is enough. In the long ago, this was incredibly important as older browsers often had memory leaks connected with event handling.
Say you have a list of links, and instead of following these links you want to do something in code when the user clicks on them:
<ul id="dogs"> <li><a href="#dog1">Dog1</a></li> <li><a href="#dog2">Dog2</a></li> <li><a href="#dog3">Dog3</a></li> <li><a href="#dog4">Dog4</a></li> <li><a href="#dog5">Dog5</a></li> <li><a href="#dog6">Dog6</a></li> <li><a href="#dog7">Dog7</a></li> <li><a href="#dog8">Dog8</a></li> <li><a href="#dog9">Dog9</a></li> <li><a href="#dog10">Dog10</a></li> </ul> |
You could loop over each of the links and assign a click handler to each:
const linkclicked = (e,l) => { console.log(l); output.innerHTML = l.innerHTML; e.preventDefault(); }; const assignhandlers = elm => { let links = document.querySelectorAll(`${elm} a`); links.forEach(l => { l.addEventListener('click', e => {linkclicked(e,l)}); }); } assignhandlers('#dogs'); |
You can try this event handling example here and the code is available on GitHub (event.handling.html).
This works, but there are two problems:
1. When the content of the list changes, you need to re-index the list (as in, call assignhandlers() once more)
2. You only react to the links being clicked, if you also want to do something when the list items are clicked you need to assign even more handlers.
You can try this by clicking the “Toggle more dogs” button in the example. It adds more items to the list and when you click them, nothing happens.
With event delegation, this is much easier:
document.querySelector('#dogs'). addEventListener('click', e => { // What was clicked? let t = e.target; // does it have an href? if (t.href) { console.log(t.innerText); // f.e. "Dog5" output.innerHTML = t.innerText; } // if the list item was clicked if (t.nodeName === 'LI') { // print out the link console.log(t.innerHTML); output.innerHTML = t.innerHTML; } e.preventDefault(); // Don't follow the links }); |
You can try this event delegation example here and the code is available on GitHub (event-delegation.html). If you now click the “Toggle more dogs” button, and click any of the links with puppies, you’ll see what it still works.
There are a few things you can do to determine what element the click event happened on. The most important bit here is the “let t = e.target;” line, which stores the element that is currently reported by the event capturing/bubbling cycle. If I want to react to a link, I check if a “href” exists on the target. If I want to react to a list item, I compare the ‘nodeName’ to ‘LI’. Notice that node names are always uppercase if you do that kind of checking.
I really like event delegation as it gives me a lot more flexibility and I don’t have to worry about changes in content. The handler just lies in wait until it is needed.
